Wednesday, 6 February 2013

Extruder assembled

With the hot end assembled, I have used the notes of of the reprap site. This as seen in the top picture shows the set up of it. With the cables being crimped of. I also used a bit of solder to reinforce it


It's been a long time...

It has been a while since I last posted... Since this time I have been very busy working on my machine. I have tided up all of the wiring, and sorted out a power source. Also I have replaced the normal M3 bolts on the bottom of the bed for nylon lockable nuts. This means that the bolts will not loosen easily. As previously I found that when transporting my machine the nuts can easily loosen themselves off the bottom of the bed. I have also added X4 stepper motor drivers to the machine.


Tuesday, 10 April 2012

Assembling the X axis

Parts for the X axis
The Finnish product
The X axis where the next thing to be assembled. Once one of the ends had gone on with a little force, the filament feeder was added, then the over side to the assembly. Along with one side of the pulley.

Sunday, 8 April 2012

Assembling the filament feeder

The filament feeder kit was assembled together with all of the parts


 The Finished product!

At first i had trouble finding instructions on how to assemble this part but eventually I figured out how to assemble it myself.


 The Y axis smooth rod mounts where then all align so that the print bed would align properly


The print surface slid on straight away!

 After that I then cut out a template, witch I then stick to dome 6mm MDF, witch was then cut out.
 It was then stuck on  to another peice of MDF witch was 21.5MM by 21.5 MM, it was held in place with a M3 bolt, 2 washes, 1 spring.
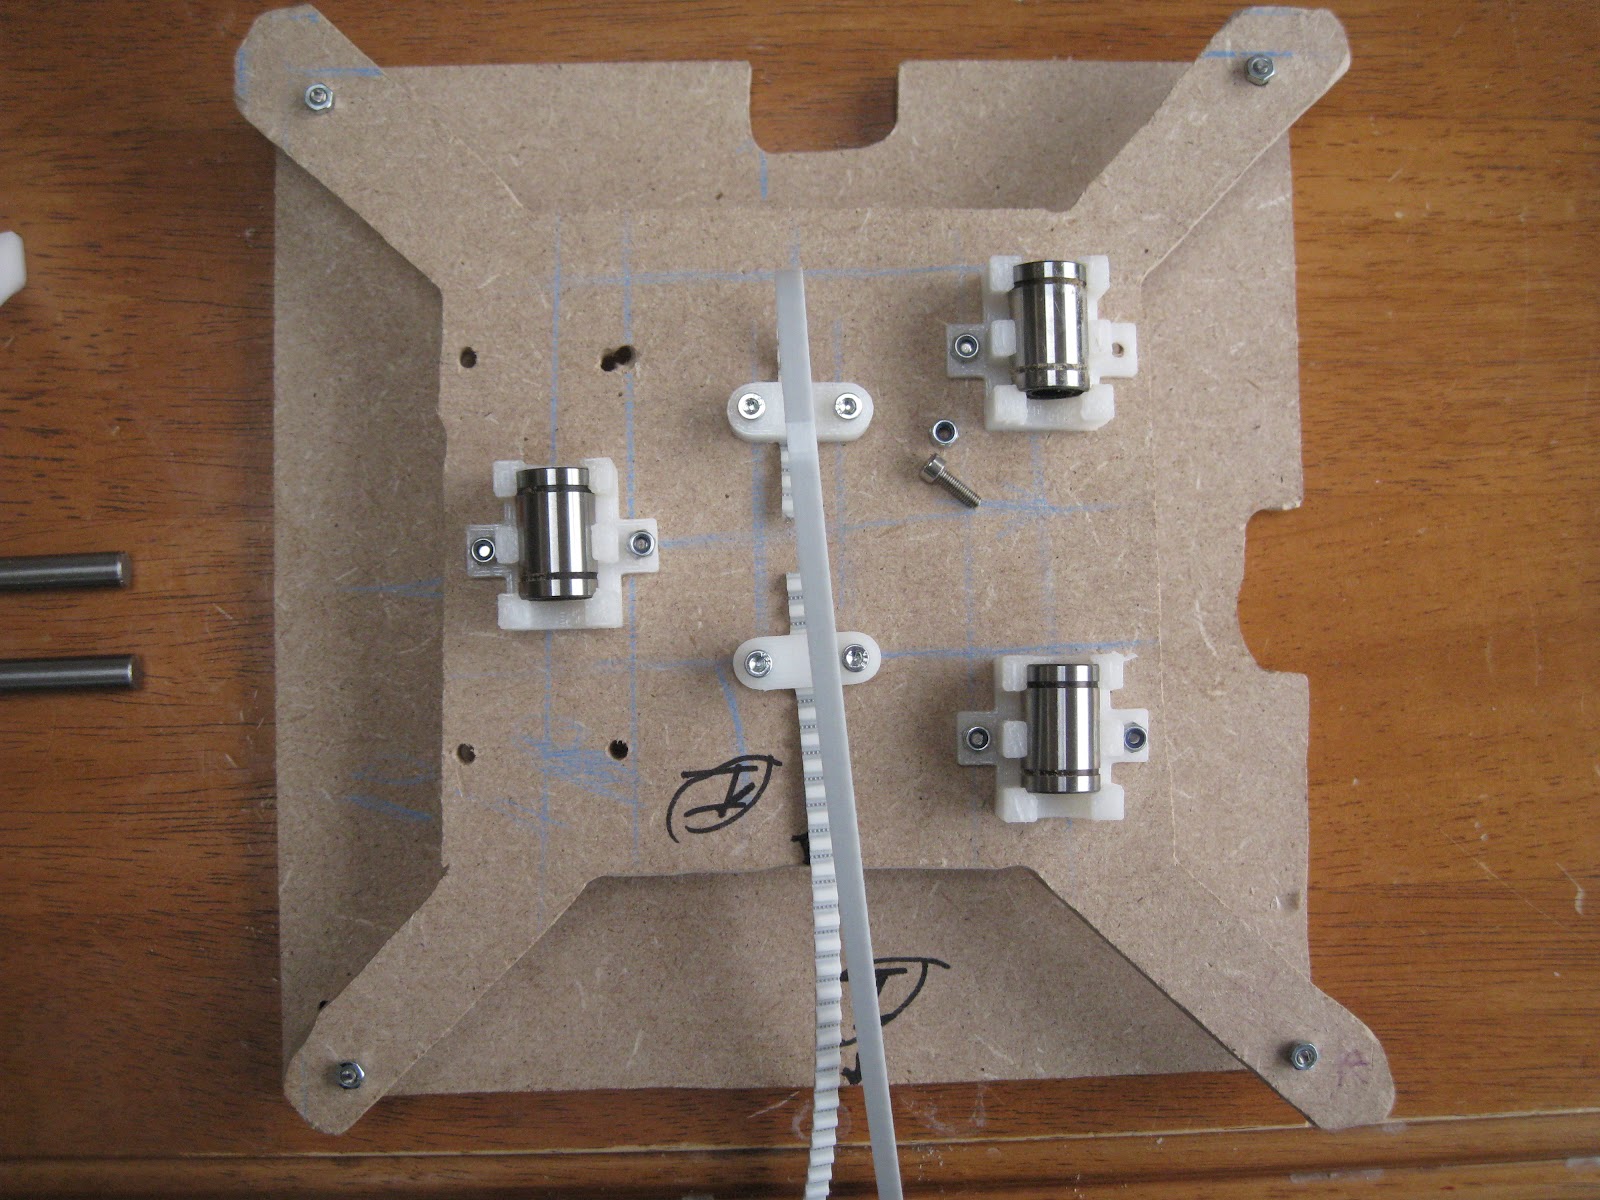
The 3 mouths that hold the the bearings where next to be added. Soon after that the Y belt was added with the 2 other mounts with washes and nuts on them.
After the 2 Z axis top threaded rods and the 2 Y axis smooth rod's were installed. I then tightened the machine, starting from the bottom, to the top.